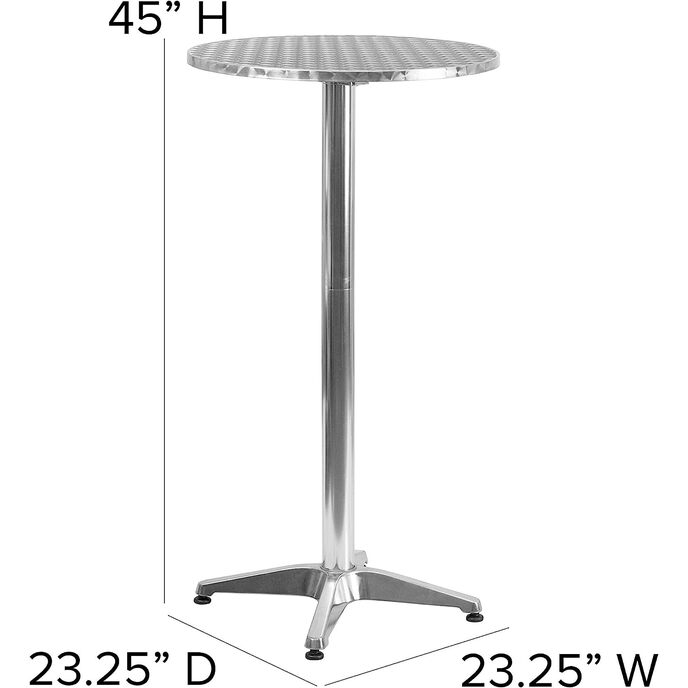
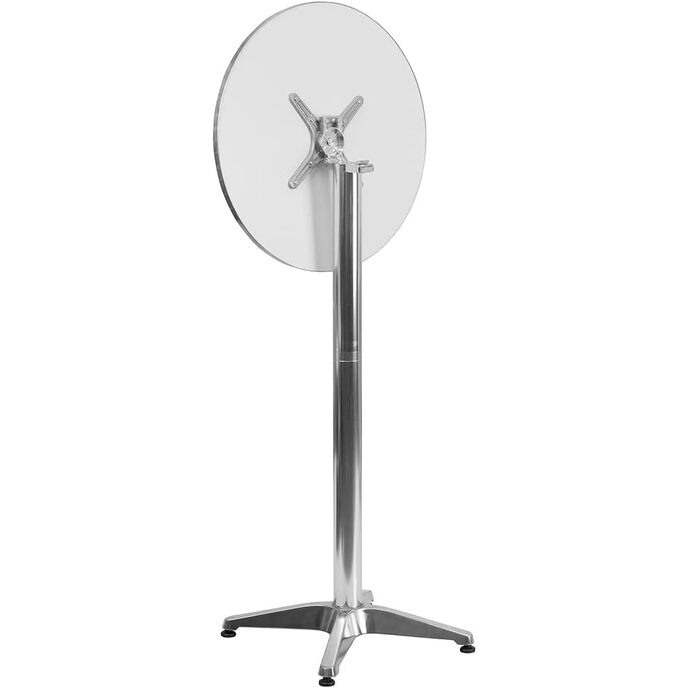
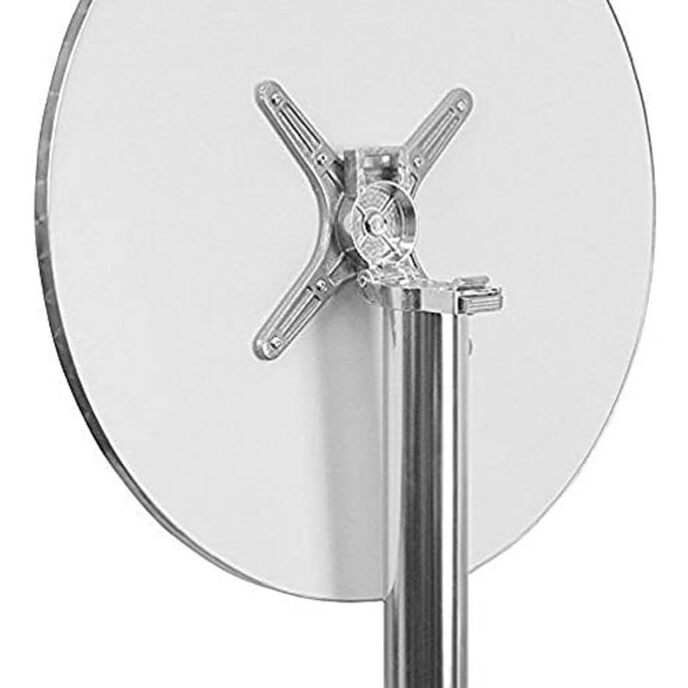
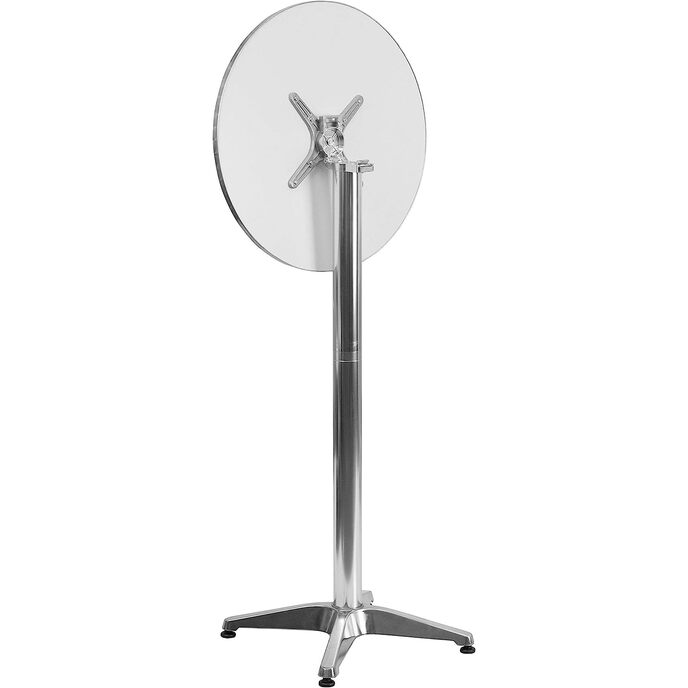
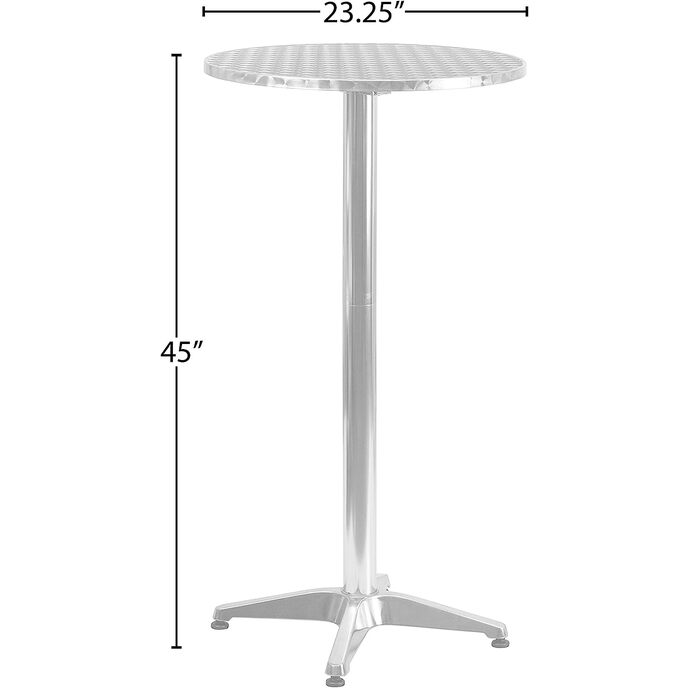
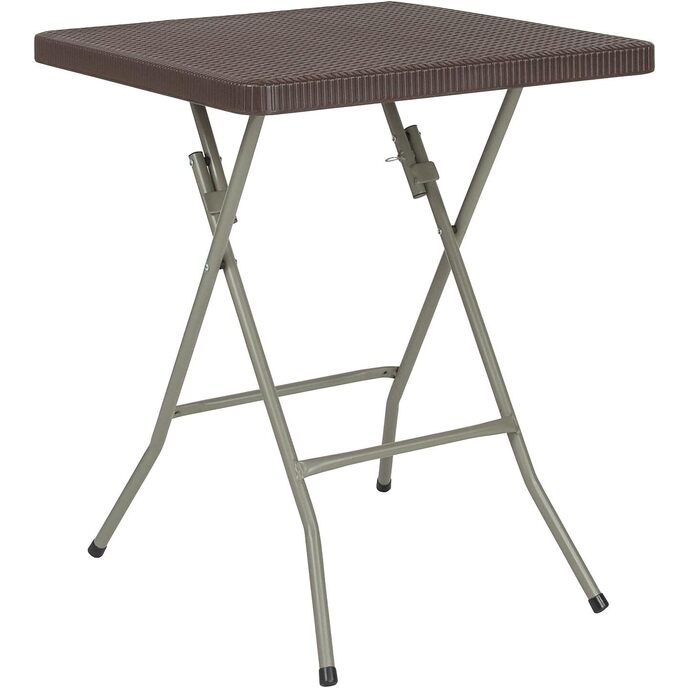
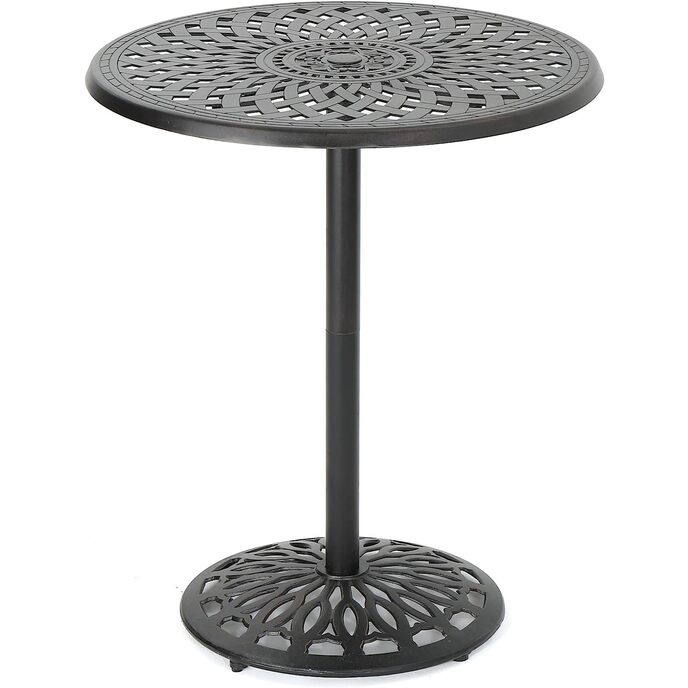
These tables are not "perfect" - but they don't cost $100 either. Their shortcoming of manufacturing, and their assembly instruction shortcomings are easily corrected. I have posted a picture of my thoughts on assembly to this review. As a lifetime builder and career engineer, I found these tables to be fully acceptable. Yes - the "directions" are VERY poor. There are alignment notches/bumps which must be aligned and are not clearly shown. And parts of the drawing are simply wrong. You might want to try my instructions in my picture below - print them as a letter-sized picture. I hope that anyone using them finds my recommended assembly and fix very helpful. In regard to some other negative review comments : There IS a manufacturing shortfall with the part K tilting mechanism - but it is easily fixed with a bit of attention and a flat file. See my instructions. While I agree that the fit quality of the threads is not good - I did not have a stripping problem. The person with a table "getting more wobbly" and the one with the crooked tables probably did not line up the notches/bumps of the K-D-B parts - the fault of very poor instructions. You might try to disassemble and reassemble. The "too short part C rod" person probably threaded the C rod too far into part K - this is again the fault of the poor instructions. I discovered the flaw and had to partially disassemble to correct it. See my solution in my instructions about C to K assembly. Also : Start with the fact that the table IS the size it says it is, don't buy it then expect something else. If you don't want a table that tips, then don't buy one - or just don't tip it - but don't expect that you can throw some part(s) away and still have it work. Printing the attached picture is probably best, but my suggested assembly is as follows : Flash Furniture 2-Foot Round Aluminum Indoor-Outdoor Folding Bar Height Table with Base These instructions use the original "names" as of June 2020, including the top as part "B" * NOTE : Before assembly, anyone who has some mechanical skills should verify that part K's latch mechanism works easily every time. Both of my tables needed a little flat-filing to remove casting bumps, and to assure a flat surface on the hook of the latch. With a little filing I found that the latching mechanism would reliably move fully into place, securing the table. Save the bolt - it attaches K to A. General instruction : I recommend that you use a little bit of grease on every thread, especially the feet. This will ease assembly, and will make disassembly or tightening possible later. By far, the easiest way to assemble this table is upside down. Place A upside-down on a soft surface. The picture with K is WRONG (the manufacturer should fix this, and probably rename the parts at the same time *) - You must align parts K and A's bumps and notch !! This will be at 45 degrees, not in line with the top's arms as is shown. Attach K to A using the bolt which was inside K. Dispose of both plastic thread protectors from the C rod with threads on both ends. Then, after spinning an F nut fully onto either end of this rod, thread and tighten this same end tight into the coupler of the other C rod. Then tighten jam-nut F against the coupler. On either end of your now-long C rod, thread an F nut down, but not all the way : leave about 3/8" plus of unused threads. Put on the lock washer L and the flat washer G, then thread the long C rod into K. When the washers and nut touch K, tighten the nut. Now slide the shorter part D tube over the rod, then the coupler part E, then the longer part D - BUT ! You must make sure that the end with the notch will be up - towards where the legs go. Remove and dispose of the shipping bolt holding the weight J to the legs. Assemble legs B onto the rod/tubes of C and D. Note the bump on part B legs - this MUST line up with the notch on part D. Here you have a choice - the tube with the notch can be rotated - this means you can align the legs with any part of the top you like. If you are assembling only one table, I recommend that you align the base-legs and "top-legs" - this will allow a folded table to sit as close to a wall as possible. But if you are assembling many tables, and will need to store them, then you might want to assemble half with the base-legs and "top-legs" in alignment, and half of them at 45 degrees. This will allow for more compact storage with table tops folded. Reinsert the weight into the legs, Install G then L then thread one F down and tighten ( This will be easier if you have a 17mm (or 11/16") socket wrench ). Thread on the other F and tighten. Thread in the four feet. Turn your table over and enjoy ! * The manufacturer probably should rename the parts so that their assembly falls into alphabetic order. A=A, B to I, C=C, D to H, E to G, F to D, G to F, H to L, I to K, J=J, K to B, L to E. ( The manufacturer should add one flat piece of protective cardboard on the table top side when packing.