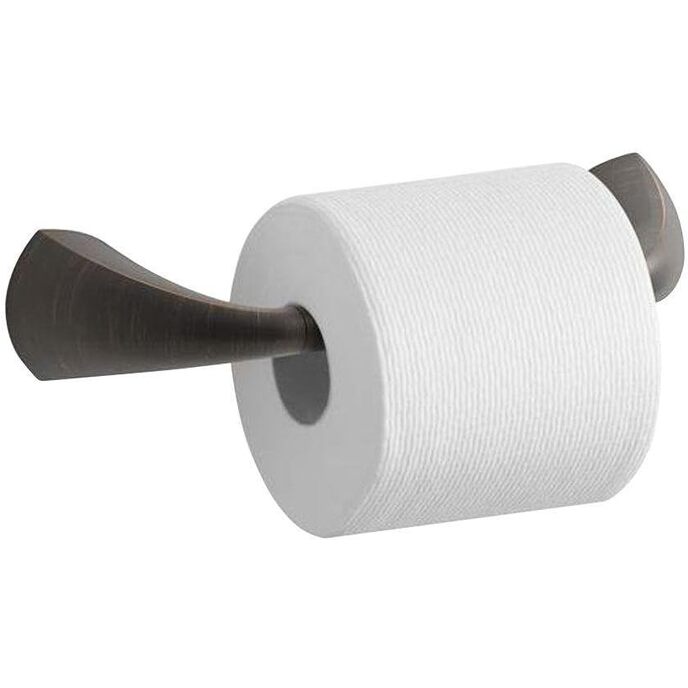
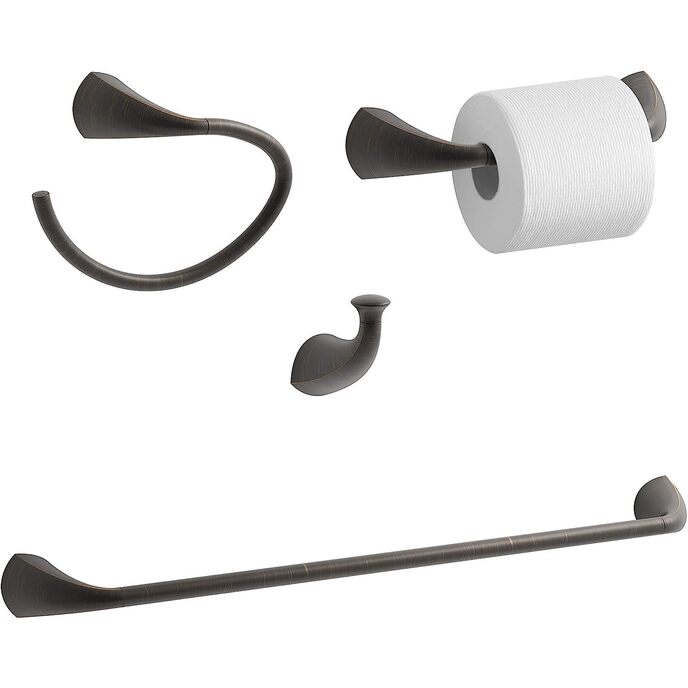
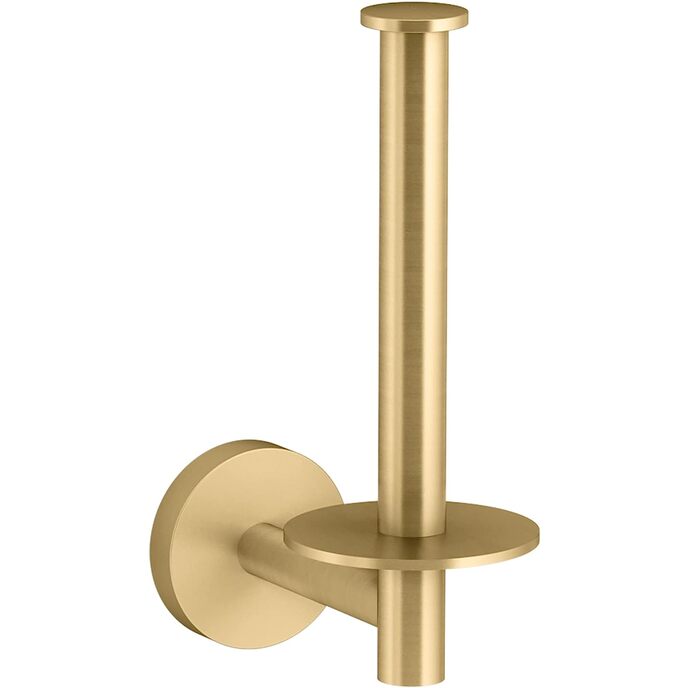
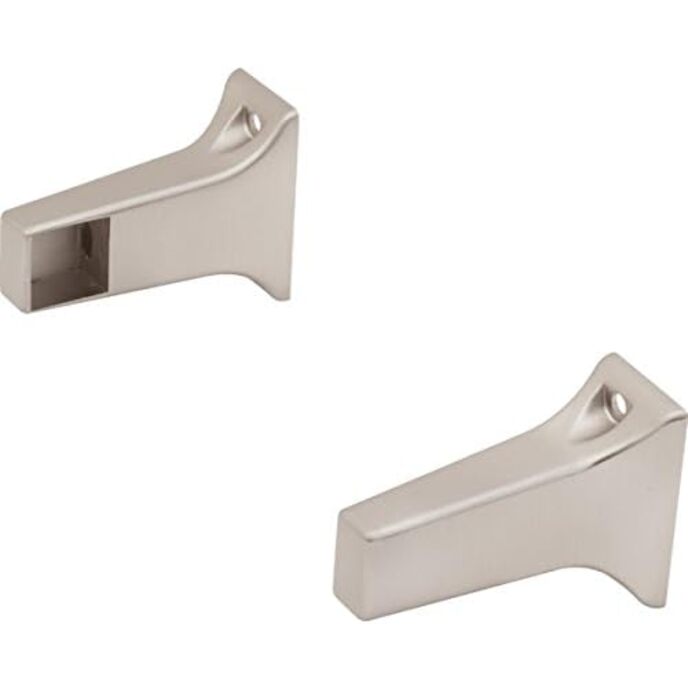
We spotted the Mistos version of this line at Home Depot. We haven't gone back to compare what the differences are, if any, but it is overall want we wanted. Some items, like this toilet paper holder is the same price but the towel rods - and depending on what finish you purchase - might be as much as 1/3rd the price at Orange or Blue. After reading all the reviews on Amazon, I knew what I was in store for in terms of installation. I even got the side with the swinging arm flush. Some advice: - FYI - Use the hex key provided to remove the base plate from the main part of the holder. The underside of the holder has a small hole where you insert the hex key. - I tried offsetting the distance between the holes on the template by 1mm, making it a bit closer. When I installed the second one I purchased, I used the provided template and it works perfectly. You just need to install methodically, measuring and adjusting one screw at a time. - Mark your holes based on the template, making sure that everything is level. If you feel that other reviewers are correct about the template, then move in 1mm or out 1mm - depends on whose advice you believe. - Use drill holes for screw guides for more precise placement and avoid splitting/cracking the wall. - Screw 1. Install the underlying plate of the swing arm side (left side). Mark both holes in this plate but, at this time, screw in the top screw only. - Screw 2. Install the underlying plate of the catch side (right side). Unlike above, mark only the top hole and screw in the top screw. You'll notice that the top hole is horizontally wider. This allows you to make small adjustments left and right. - Fit both the sides on and make sure that the bases are positioned properly so that the that the lever meets the catch. Because the base of the catch side can be adjusted left and right slightly, you can loosen the screw slightly, adjust, then tighten. - After you've positioned both sides to your satisfaction, mark the bottom holes, drill your guide and screw in the bottom screws. You might be all set at this point but, as others have pointed out, the left arm will not be flush with the wall. If this bothers you, as it did me, this is what you can do: - Remove the left side of the holder, leaving the base attached. Take a pencil and draw around the base plate to mark its exact position. Remove the base plate. - Using a 1 5/8 inch Forstner bit, drill a 1/8 inch recess (you can actually get away with less (about 2/3rd of the thickness of the plate) into the wall where the base plate can fit into. NOTE: This is an easier step if you're installing on the side of a vanity and drilling into wood. However, I also tried doing this on drywall and a Forstner bit can tear apart the wall if you go too fast. When I did it, the pivot was creating a messy hole in the center of the recess I was creating... so I stopped. I then proceeded to carve a recess using a Dremel. JUST BE VERY CAUTIOUS, otherwise you'll be doing some patchwork. I had to compound and paint were the recess shows underneath the installation. - Screw the base plate back into place and install the left side. At this point, everything should be flush. Mine sticks a little bit, since recessing it offsets the alignment slightly. This doesn't matter to me, since it's not a daily thing to replace the toilet paper roll (right?). Once the paper is on, who is going to notice? Hope that helps folks. Giving it 4 starts just for the extra effort to get it flush.