Redcat Racing HUK-1P Volcano EPX Hop-Up-Kit, Lila

Brand:Redcat Racing

3/5

130.50

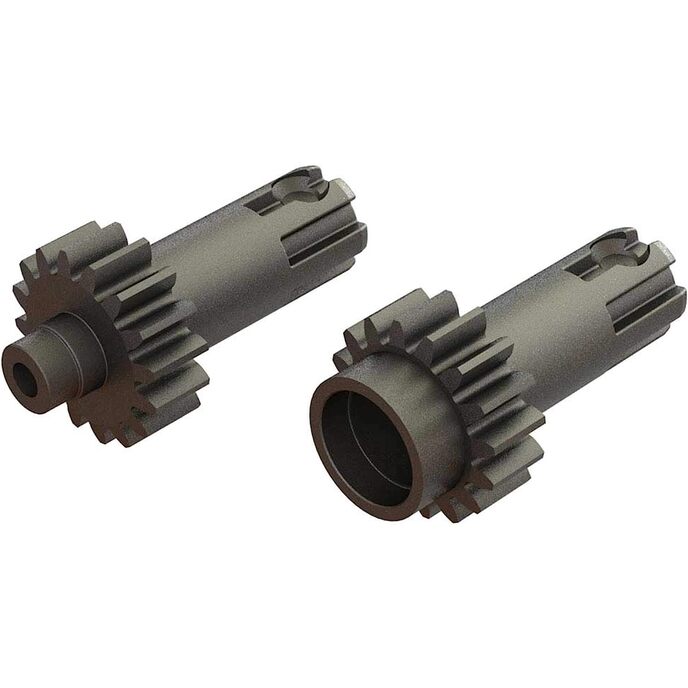
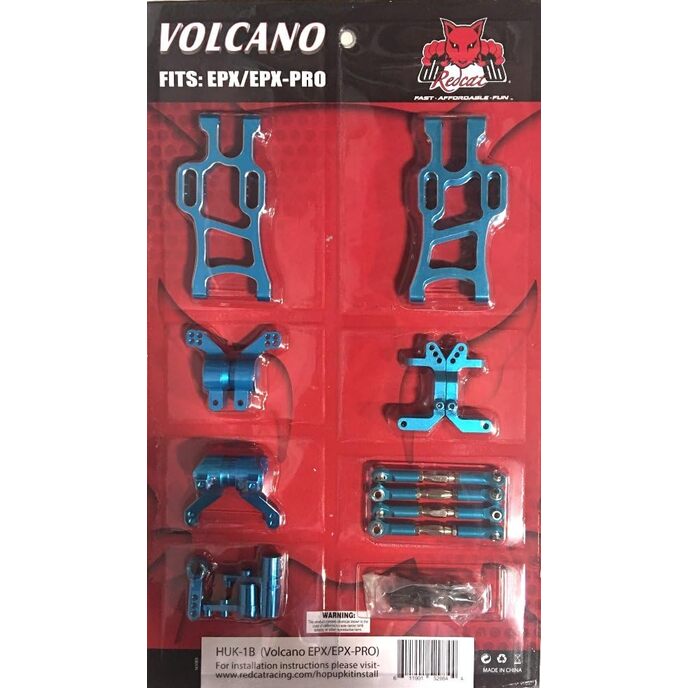
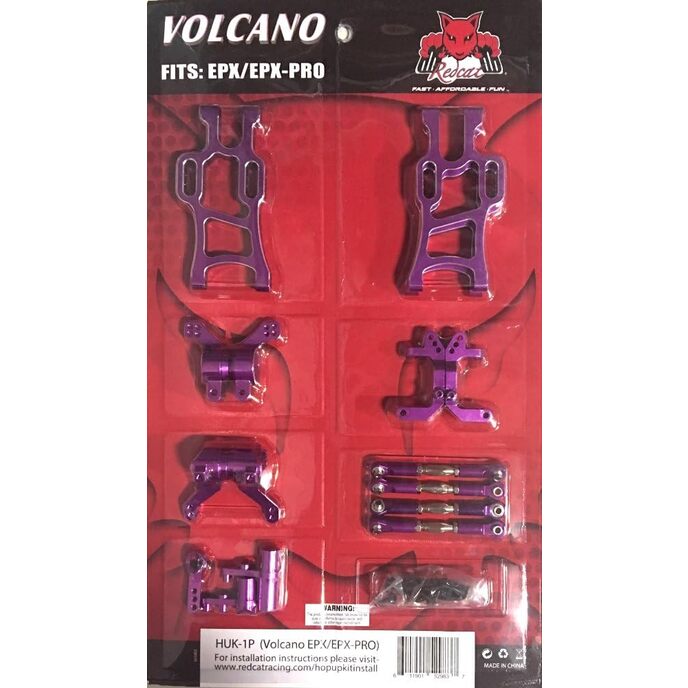
Redcat Racing Teilenummer HUK-1P VOLCANO EPX Hop-Up-Kit, Lila. Kompatibel mit den folgenden Redcat Racing-Fahrzeugen: VOLCANO EPX/EPX pro. Redcat Racing hat seinen Sitz in den Vereinigten Staaten und verfügt über ein umfassendes Support-Team, das Ihnen bei Ihrem Redcat Racing-Produkt hilft. Informationen zur korrekten Montage und Montage finden Sie im Handbuch Ihres Fahrzeugs. Seit 2005 ist Red Cat Ihre Quelle für schnelles, erschwingliches und spaßiges Design! Enthaltene Teile: 02131p Achsschenkel (2) 08055 vorderer Unterarm (2) 08056 hinterer Unterarm (2) 06048 Spannschloss mit bearbeiteten Aluminium-Stangenenden (4) 02130p Hinterradnabenträger (2) 102057 Servo-Saver-Set 02132P Vorderrad-C-Nabe (2) 3x14 Bhs (14) 3x12 Bhs (2) 3x3 Madenschraube (2)

Kompatibel mit den folgenden Redcat Racing-Fahrzeugen: Volcano EPX/EPX Pro. Für Fehlerbehebungs- und Garantieinformationen wenden Sie sich bitte an einen Redcat Racing-Kundendienstspezialisten unter 602-454-6445 oder per E-Mail an amazonsupport@redcatracing.Com. Bitte lesen Sie in Ihrer Bedienungsanleitung nach, um sicherzustellen, dass es sich um das richtige Teil für Ihr Modell handelt. Verwenden Sie nur Original-Ersatzteile von Redcat Racing, um mit Ihren Redcat Racing-Fahrzeugen die beste Leistung zu erzielen. Original Redcat Racing-Ersatzteil Nr. HUK-1P.
Customer Reviews 4.0 4.0 out of 5 stars 40 ratings 4.0 out of 5 stars
Item model number HUK-1P
Item Weight 10.3 ounces
Manufacturer Redcat Racing
Manufacturer recommended age 14 years and up
Product Dimensions 14 x 8.5 x 1 inches

3

8 Review
5 Star
56
4 Star
13
3 Star
18
2 Star
5
1 Star
9

Schreiben Sie eine Bewertung

Ihre E-Mail wird nicht veröffentlicht. Alle Pflichtfelder sind mit gekennzeichnet*

Scritto da: George
Don’t waste your money
Save your money the turn buckles are sloppy I Put the plastic ones back in The front knuckles have a lot of sloppy Not worth the price
Scritto da: BiffSoQuick
Need instructions. Schematics view from Redcat racing website is not enough.
If this is your first "hop up" or upgrade kit be ready for some trial and error. Instructions are not detailed. A tool list would have been helpful as well. I was lucky enough to have the the little tinny hex sizes required (1.5) for the shocks removal. Also need a hex size 2 for the rear wheel hub retaining pin. Speaking of the shocks, I lost several of the shocks rider bolts (tinny hex pins) on my first drive after installing this kit. The shocks pins work themselves out while driving as they are very loose (see pic). I recommend some type of locktight or thread locker (probably medium or blue) on these pins.
Scritto da: Rabidbat racing
A great project. Needs alot of set up!
Note: This requires some skill to set everything up. It is not just a simple swap out of componants. Once assembled, camber, toe in, shock position, etc all need to be tuned. You will need to get wheel bearings, C hub bushings as well. I used a good silicone grease for all. Must have Thread Locker 242 (removable). Now I'm itching for the shock towers, control arm carriers, and chassis plate! Weee! (I set the rear arms parallel, with a little angle on the front, 2 degrees neg camber all around, and 3 degrees toe in. 50 wt in the shocks.)
Scritto da: BP Hawk
No instructions
I bought this hop up kit recently. Quality of the aluminum is good although I had one item that did not have treads in it and it requires threads. So I had to leave the old factory part on instead. But my big complaint is that it says at the bottom of the package "for installation instructions go to ...". Well guess what the website is nonexistent. So I went to redcoats website and opened the schematics for the rc car to help guide me and the schematics online are hard to see (blurry) and it's of a slightly different car. The parts in the hop up package are not labeled and it took a lot of time to carefully ID and determine what part goes where. My suggestion if you plan on purchasing is study the parts carefully or you will find yourself putting stuff on and taking it off again.
Scritto da: Binoj Daniel
No instructions or markers on the parts to know which side is right
I wish there were some markers or directions on how to install them. Put them backwards had to take out the entire setup and redo.
Scritto da: Bronson
Good quality
Everything fit perfectly. Very pleased with the quality of the parts. Highly recommended.
Scritto da: Travis Stagg
Five Stars
Product was perfect. Works great, everything they advertised, and shipping was fast. Thank you
Scritto da: kim marshello
Great upgrade
Fit perfectly

Verwandte Produkte

Entdecken Sie unser internationales Netzwerk

Wir versenden in 28 Länder, über 200.000 Produkte. Bleiben Sie auf dem Laufenden, abonnieren Sie den Newsletter.

Array