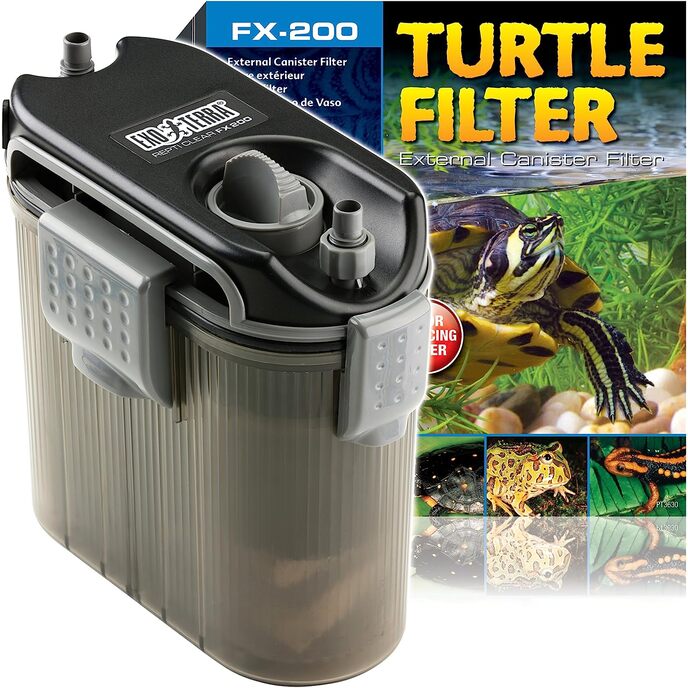
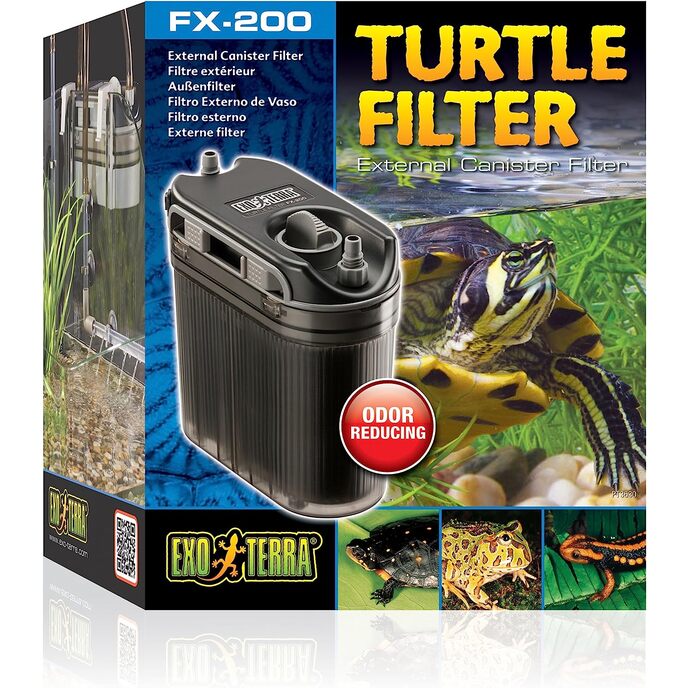
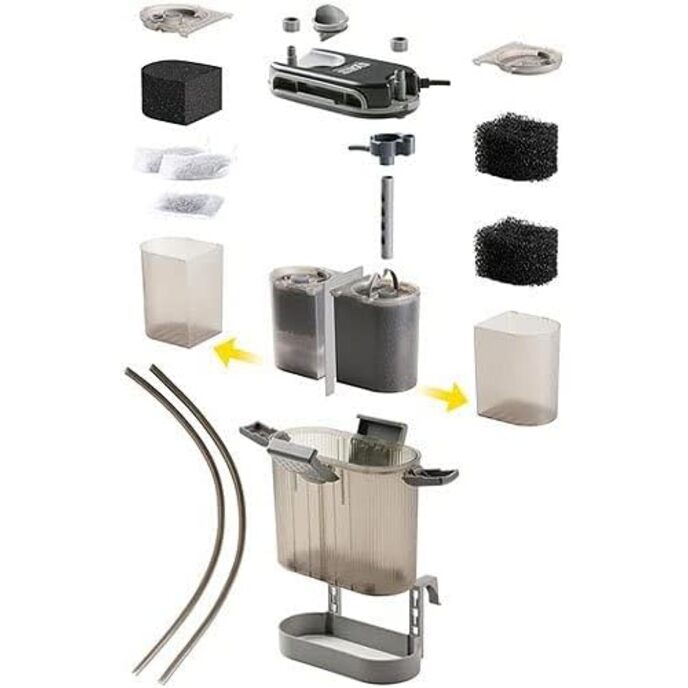
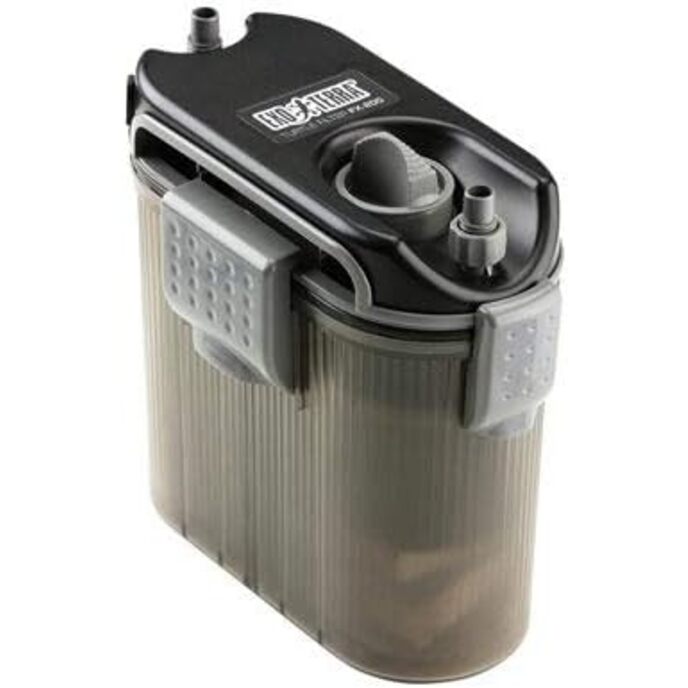
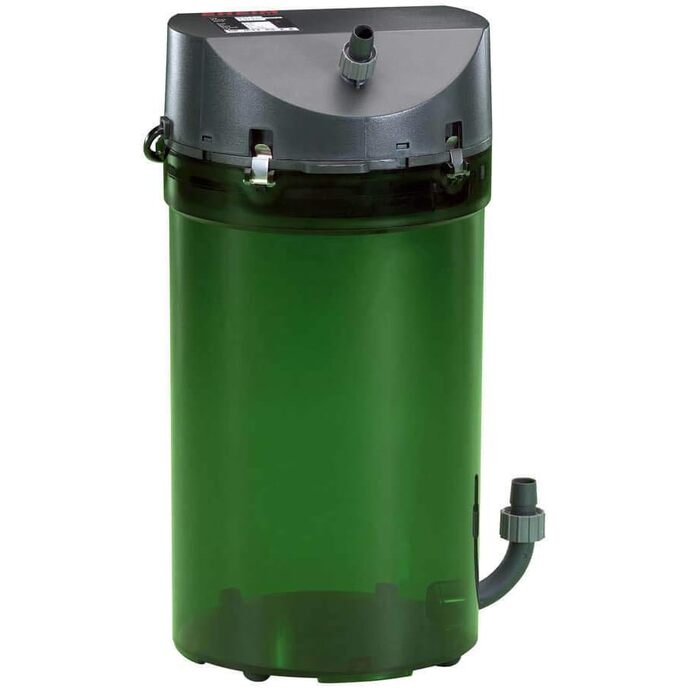
This is a very long review. But I assure you, I will tell you everything I can about this filter. Here's the thing, I don't have a turtle. But my niece does, so I've done quite a bit of research into keeping turtles in order to help her out. From that research, I don't believe this is a good filter for a turtle tank. Unless you had like 20-30 gallon tank for a baby turtle. Let me explain. I do know a lot about filters and their filtering capacity because I keep 5 aquariums for fish. This filter is problematic off the bat, because you can't find its gph flow rate anywhere. It isn't on the amazon listing, the box, the filter itself, the manual, the exo terra website, or their parent company hagen's website. So I'm really just making an educated guess from my knowledge of filters based on size and what the flow looks like as to what size tank this is appropriate for. My best guess is a 20 gallon with a moderate stock or a 30 gallon with a low stock. That is for fish of course. So when using this for a turtle, turtle's being quite messy and most sites suggesting getting double the filtration for their tanks, imo it is only good for a small tank for a baby. If you have a 40 or 55 or even bigger for your turtle, this filter won't be strong enough. You'd need to clean it much more frequently than suggested and most probably won't, which will of course over work the motor and it will probably burn out. Just do yourself a favor and spend the money on a larger filter for your turtle. A good rule of thumb is that you want one with a flow rate that will cycle through your tank's volume 4 times per hour. Six would be ideal, but 4 is sufficient. For example, if you have a 20 gallon tank, you want it to cycle 4 times in one hour, so you need a filter with a flow rate of 80 gallons per hour(gph). With a turtle, you probably want to double that number, so in this example it would be 160 gph. Think about how that translates when talking about the much larger tanks you *should* have for a full grown turtle. You need a huge filter. Or even better, a sump, but that is too much to explain in an amazon review. Tip: do not look at what size of tank the filter says it is good for. Always look at the gph and do the math for your size tank. That out of the way, judging from the questions and answers, past reviews, and the product size of this filter, I guessed it would be fine for what I wanted it for. A 20 gallon planted aquarium. And it has been working just fine for this application. But having now seen it and used it, I really wouldn't use it on anything larger than a 30. Even then I'd say a planted and lightly stocked 30. So using this for an aquarium required adjustments to its design from the intended use for turtle tanks. Frankly, I feel the way they want you to use it for a turtle tank is stupid. I suppose there are some turtles that are only semi aquatic and perhaps do only need a low water level, ie a tank not all the way full. Which is the set up this filter was designed for. But of course there is no species specific designation on this product, and the most common aquatic/semi aquatic turtles(mainly red eared sliders) require a much larger/deeper water level for swimming. Of course unless you have an itty bitty baby turtle, in which case the lower water level set up this was designed for is probably fine. But again, that is specified nowhere. And even that is debatable. I digress. So this has a long rigid tube that connects the spray bar and hose. It is long because it is meant to go far down into the tank for a lower water level. Well I needed it closer to the top of the tank for aquarium use. I scored the tube with a utility knife at the length I wanted and it snapped off clean. See pics 1 and 3. I then took the extra rigid tube piece I had and attached it to the spray bar with some extra hose tubing to extend the length of the spray bar. See pics 1 and 2. The next problem I had was that this was an amazon warehouse purchase I got at a lower price. The bracket for mounting it on the side or back of the tank was missing. Not a big deal, as I didn't have space to put it either of those places anyway. I would just have it on the shelf under my tank, like how every other canister filter is. The problem is that they don't include enough intake/output tubing for this. So I had to make an extension. If you want to do this, you'll need two 3/8" to 3/8" barbed hose splice and some 3/8" id(inner diameter) tubing in whatever lenth you need. These can be bought from about any hardware store for $5 or so. I just happened to have some extra 3/8" inner diameter tubing from another project, so I only had to buy the splices. Connecting them is pretty straight forward. See pic 6. A note here, I believe the tubes it came with are measured in metric, because the sizing of the 3/8" tubing was a smidge different. But it is close enough to work. Also, the outer diameter(od) of my tubing was too thick to fit into the connectors on the filter, so I had to put the tubing it came with on that end. If I ever need to replace it I'll have to find some thinner walled tubing with a smaller od. Another side note about having the filter sitting on a shelf under the tank vs hanging on the side, I am not experiencing any noise from it running. Reviews that have said it vibrates against the tank and is loud, I think if you moved it to sitting on a surface you'd solve this problem. Ok so now that I've got those design problems out of the way, we move to filter media problems. I find that all filters, no matter how they are marketed, have these media problems. Pretty much, they don't give you the right media. Or they give you cheap media. Or they don't have the media in the right place within the filter. Without getting into too much detail, you want your media to go mechanical first(sponges and filter floss), course to fine within this category. Then you want your biological media(bioballs, ceramic rings, diy media, etc.). Then if you choose to use chemical media, it is last(carbon, zeolite, etc.). This filter only comes with sponges(all the same porousity), carbon pouches, and an "odor absorbing" pouch which I'd just assume is zeolite or something similar. I just threw those pouches away. Should I ever need to add carbon to remove meds or something, I have my own. Here is how I set up mine with media, but you can go a different route based on your preferences. Where the water goes into the filter, I put one of the very course sponges provided in the top basket. I then cut to size one of my finer sponges and put in the bottom basket. I put a layer of filter floss on the bottom of the filter under the baskets spanning both sides. I also put a layer of rocks(leca) on the bottom under the baskets. More on the foam side, because these baskets float up to the top leaving a gap where water can "swirl" and not flow evenly through the rest of the media. Idk that this is much of a problem on this design of filter, but better safe than sorry. I also put some rocks on the top where the water enters in to break up the flow and to cut down on space where air bubbles could get trapped. On the other side of the filter where the water gets pulled out and pumped back into the tank, I filled both these baskets with biological media. I diy mine with leca or lava rock. This was a little tricky since there is a hard tube that goes down through the baskets on this side. I ended up cutting out a circle around the hollow spot in the sponges that originally went in that side. Then holding them in place while I filled rocks around them. This way it would still be easy to get that hard tube in and out. I wish I would have taken pics of this before I got the filter all together and running. But next time I have to open it up I will try to remember to take some and add to this review. But you can kind of see what I'm talking about in pics 4 and 5. My fine sponge is green. Anyway, the layout and order I used for t