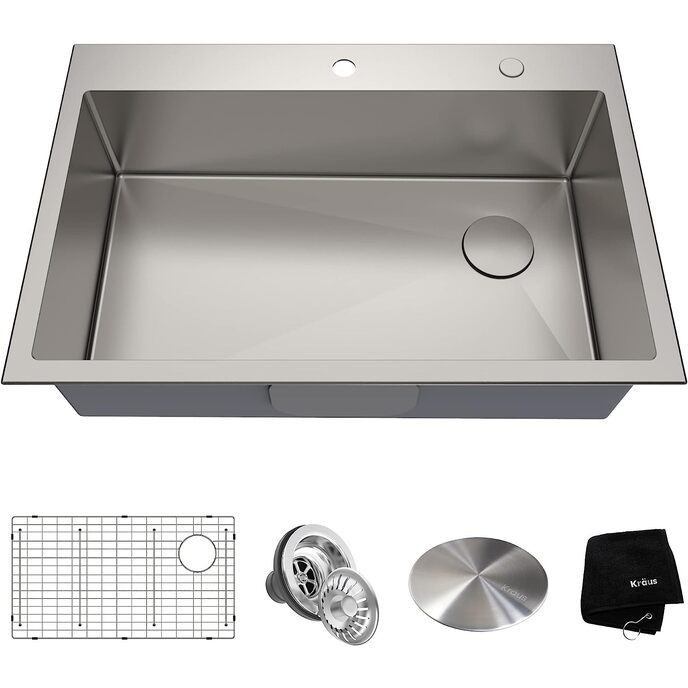
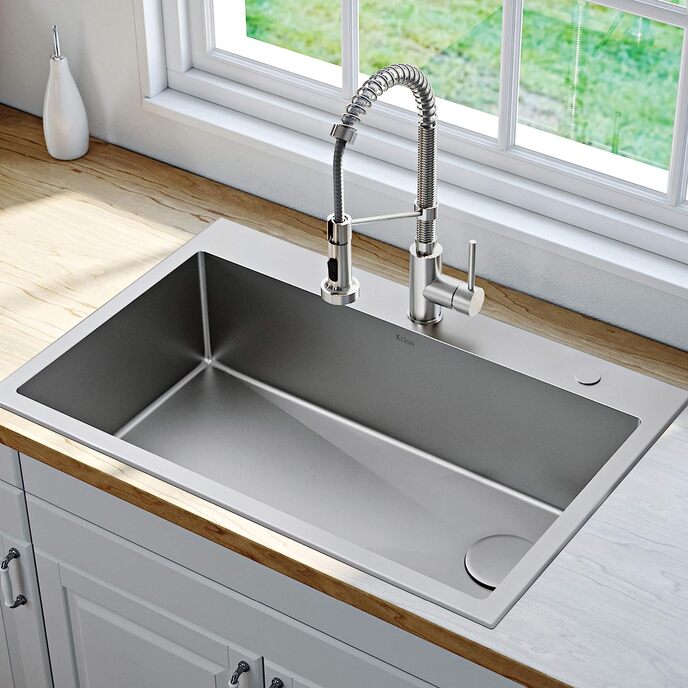
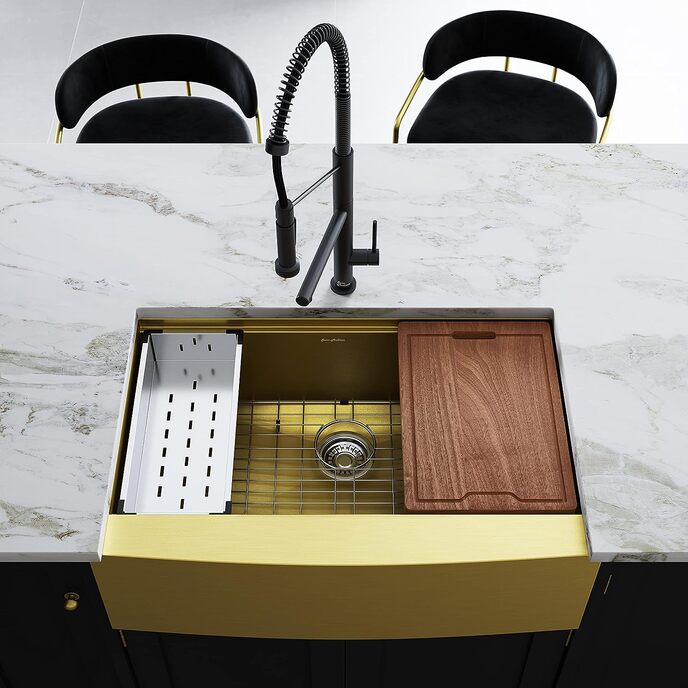
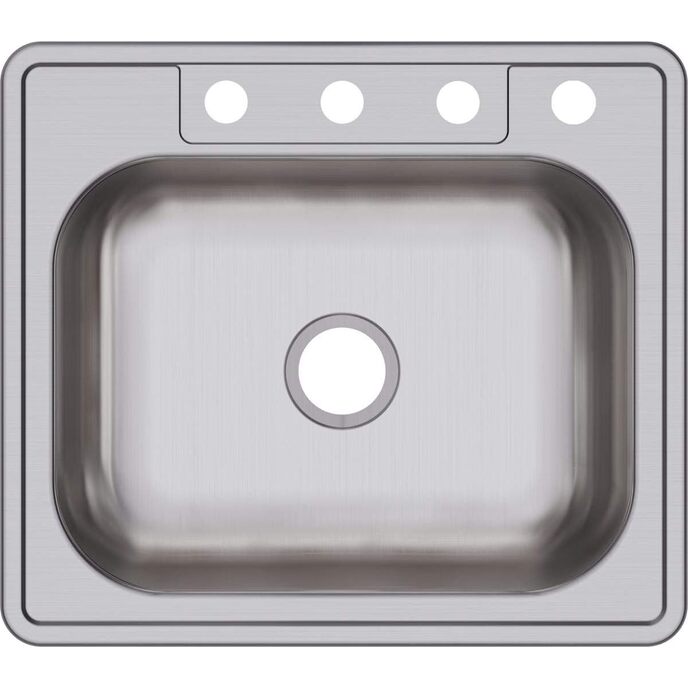
As the last of the attached photos shows, the sink is beautiful installed. I really like the contrast of stainless steel with the copper-clad countertop, and it's such a modern, sleek look. Cannot speak yet to durability or maintainability, but so far I love it. It's a good thing I am handy, because it had two basic problems I had to overcome. The first, as shown in the second photo (they are not in ideal order), is that the edge that rests on the counter is just the thickness of the sheet stainless steel. The instructions indicated to simply bed this down in caulk, but I did not think this would make a good, long-lasting seal. The bottom along the edge needed to present a broader surface for the caulk to interact with. As shown in the first photo, I achieved this by glueing 1/4" brass rod along the perimeter. I used JB Weld epoxy. When installed this provided plenty of purchase for the caulk, along with stiffening the edges. I could have used wood but I wanted maximum water resistance in case the caulk ever failed anywhere. I expect the same could be achieved, more cheaply, with autobody filler carefully leveled off. The second problem is the clips provided to secure the sink to the countertop from underneath. They look ingenious and elegant, but, unless you have easy access to the sink from underneath (very unlikely in an existing countertop - possibly if attaching the sink to the countertop before attaching the countertop to the cabinet) - they are virtually unusable. The reason is that the springy part that gets drawn up against the underside of the countertop sticks out far enough that, if they are installed on the sink prior to dropping it into the cutout, it can't fit, as I discovered when I tried it. If the cutout were enlarged sufficiently to avoid this, I suspect the sink would just fall through the cutout, or at least be dangerously close to doing so. If you had plenty of room on all sides you might be able to attach the clips from underneath after dropping the sink in; luckily, this proved unnecessary. I'd advise against using the clips anyway as I doubt you could ever get them off again to remove the sink if you needed to. The good news is, at least given my brass rod alteration, caulk alone is more than sufficient for a very strong bond between sink edges and countertop. I threw the clips in the metal recycling. The caulk I used was GE Silicone Metal, in stainless steel color. Makes for a beautiful, strong yet almost invisible finishing touch that I expect to last a long time, without water infiltration. Time of course will tell. Be sure to use carefully-aligned masking tape on both countertop and sink edge before caulking, for a first-class result. I used the drain fitting it came with though dubiously, as except for the top as seen in the sink, it is made of plastic. Remains to be seen how it holds up, especially to boiling pasta water poured down the drain. It did make a perfect, non-leaking seal on the first attempt (no plumbers putty), which is more than I can say with any prior drain I've installed - the type that does use plumbers putty. It has an unusual way of working - rather than tightening a large nut the circumference of the drain from underneath, the top and bottom halves are connected via a bolt that extends from the bottom piece upwards, to which is screwed a fitting in the center of the drain from the top. Seems to work quite well - the only issue is that the slot the fitting has, intended to get a purchase on it when tightening, has a hole in the middle, and the two ends are too far apart to use even a very large screwdriver. I used an old 1" chisel as a screwdriver, which worked great. I figure if the drain does not hold up it will be easy to remove and replace, so I took a chance on it. If it weren't for these issues it would be five stars. The faucet, of course, is not included with the sink.