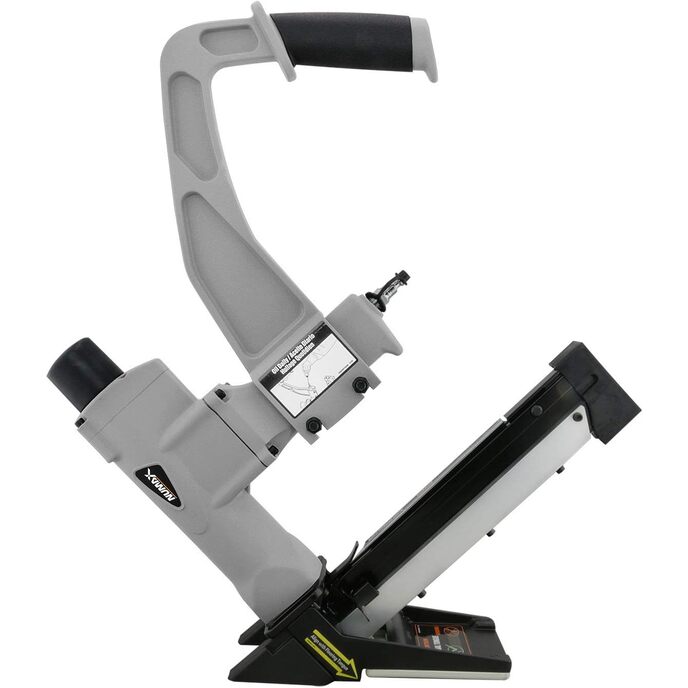
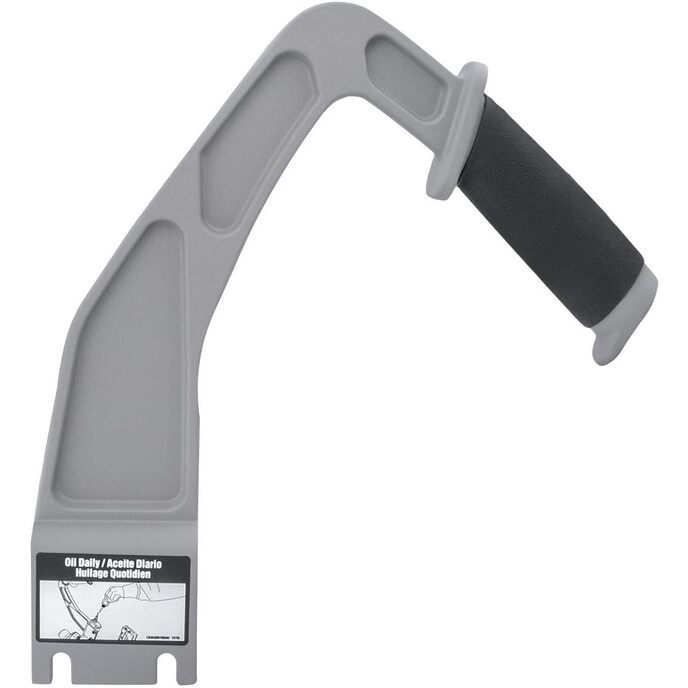
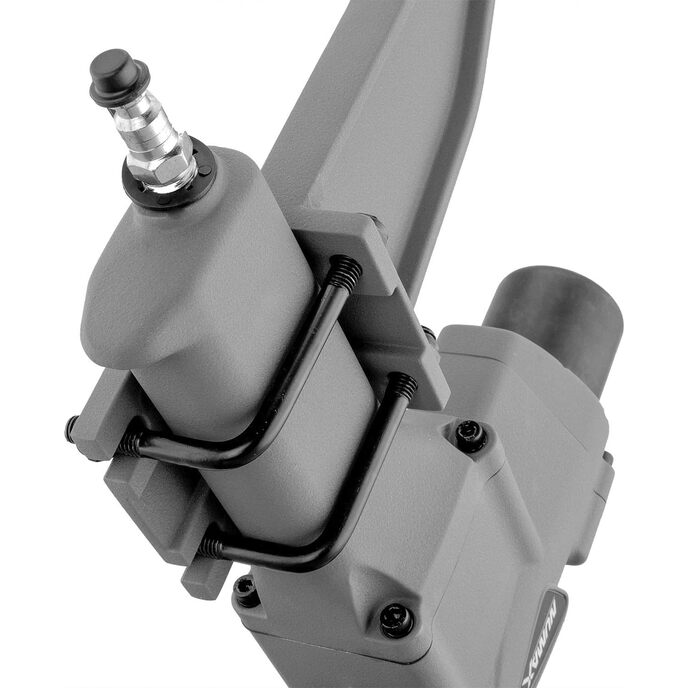
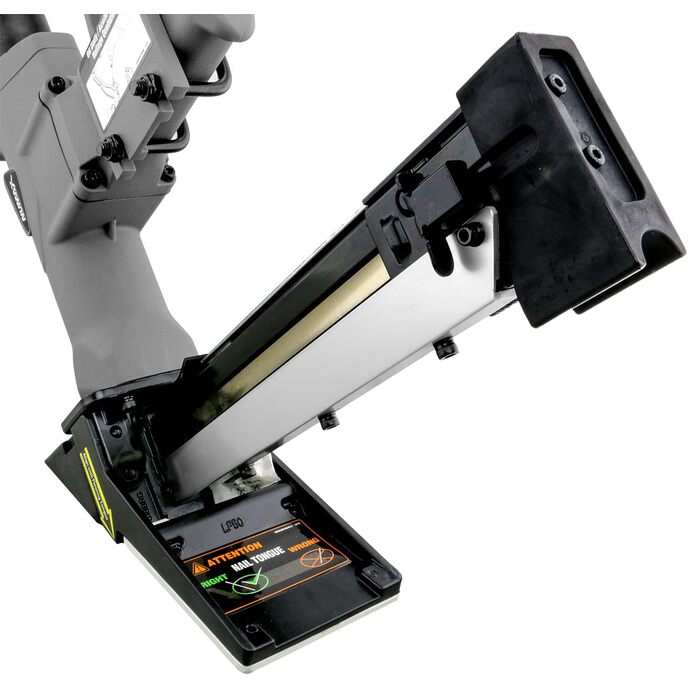
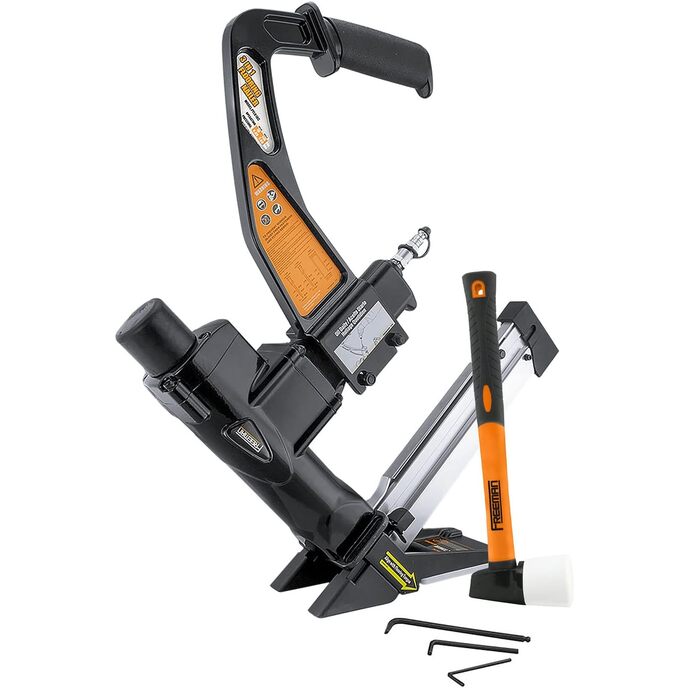
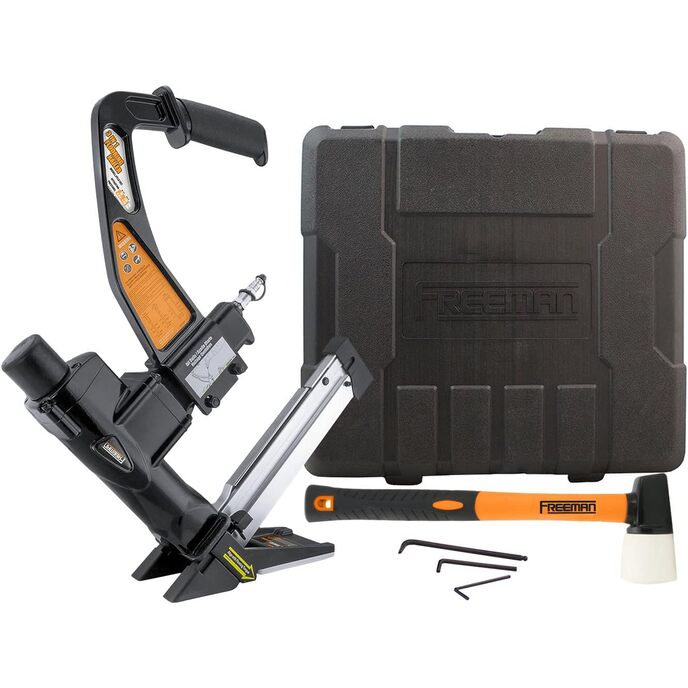
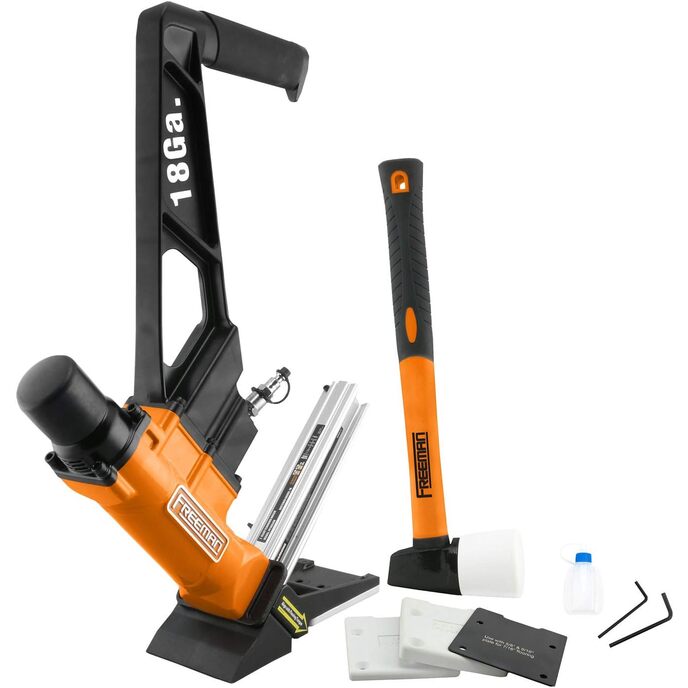
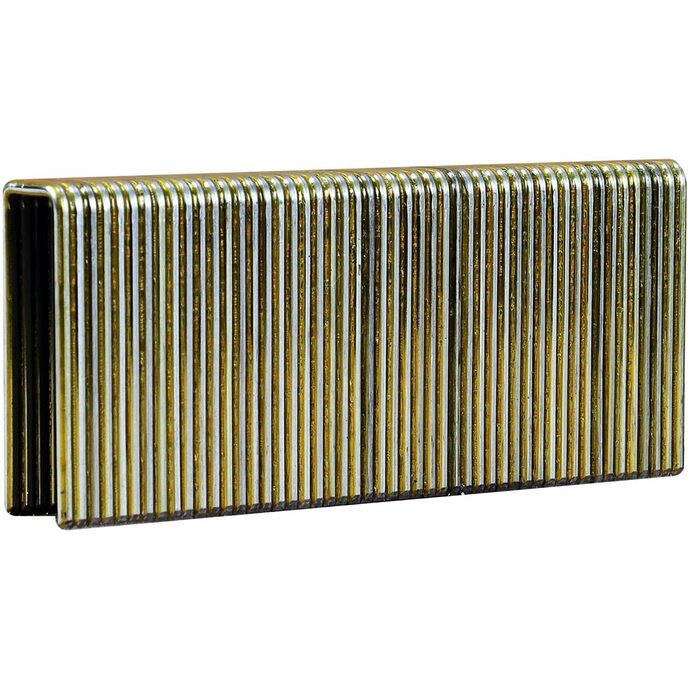
My wife and I recently purchased a '59 ranch-style home. While the bedrooms had oak hardwood flooring, the living room, hallway, and dining room had carpeting, which, while in great condition, looked like it was original to the house. We'd need to remove it. We prayed that hardwood might be under it. After pulling up a corner, we found we weren't that lucky. We looked at various options to replace the carpet -- carpeting, laminate, and hardwood (it's too cold in PA during various times of the year for tile, without radiant heat (which gets pricey)). After getting quotes on materials (with and without labor), we decided hardwood was the way to go. However, the only way it was reasonable was to install it ourselves. After a number of online videos and a great deal of reading forums, I decided I could, indeed, do this myself... however, I knew I would need a pneumatic flooring nailer to save my back and knees. After deciding on the type of hardwood we wanted (3/4 tongue-and-groove pre-finished oak) and researching the type of nailer needed to do the job (one that supports 16 gauge staples, T, or L cleats -- I used L cleats), I started researching nailers. I came to find (as you'd expect) there are some seriously expensive nailers out there. I considered renting one but decided quickly that it would cost too much (as I was installing the floor pretty much on my own a couple hours at a time, with occasional help from a great friend on nights and weekends after work). I knew I had to buy a nailer. However, I also knew (with the exception of loaning the tool to a friend or helping a buddy in the future) this was likely the only floor I'd install. Expensive was out of the question. Based on all the reviews I read about the NuMax, I took a chance. I figured if it got me through 3/4 of the install and I had to rent a nailer if it broke down, it would have been worth the $103 I spent at the time. To have the floor installed would have cost almost twice what we spent on the floor. It would have been worth the loss. At any rate, I'm so glad I got this gun. It far exceeded my expectations. Knowing I'm no pro (only a DIY'er) and can't speak to other nailers (pro or otherwise) and how well they might work in comparison, after having installed hardwood in our living room, dining room, and hallway, here's what I found. Pros: The set comes with some great items. First, there's the nailer (of course), a well-built long-reach handle. Second it comes with all the hardware needed to assemble the gun and maintain it (which was awesome as all my tools were at our old house when I first started installing the floor). Without those tools (allen wrenches and a star wrench to tighten the bolts and bracket to attach the long-reach handle), I would have been out of luck right out of the gate. NuMax provided oil, a great add (ensure you follow the instructions included and a) use this oil and b) use the oil as documented. They also provided a quality (and truly useful and durable) multi-purpose rubber mallet. Don't be afraid to hammer with this thing. It can handle the work. The mallet was indispensable during the install for a number of reasons (e.g., tapping the floor into place, lightly or with some force -- watch vids on how to do this the right way, as you can use all sides of the mallet on different parts the floor boards). NuMax also provided two plastic (non-marring) base plates. The one I needed worked perfectly for me (see General Comments). Finally, they included sample nails, staples and cleats (only to show you what works in the gun -- not enough to use for the install. This was a nice add as it gave me something to bring into the store to ensure I got the right cleats. And, finally, the included instructions... they were sufficient enough to learn how to put together the nailer, prepare it for first use, use the basics, and maintain the nailer, which seems really well-built for the price. The body is solid and has a decent heft to it. Since it's aluminum, it isn't so heavy that it makes the job harder. The slide mechanisms are responsive and smooth, shooting one nail after the next without issue (keeping in mind I'm a DIY'er and not a pro who could probably shoot nails one after the other in their sleep). Clearing jams wasn't as hard as I thought it would be. Manufacturers definitely thought about the end user when they made this nailer. Use some common sense and patience if you experience a jam. You should have no issue resolving jams. The plunger worked well throughout the install as well (as long as you hit is squarely, have the right PSI setting, and give yourself enough room for a reasonable swing, contact, and complete plunger depression). Don't be afraid to hit it; but, don't abuse it either. With a few swings, you'll find the sweet spot fairly quickly. The area to which you attach the compressor is built well, solid and (as do most) comes with a dust cover to use when the nailer isn't attached to a compressor. Another great selling point (which ultimately convinced me on this nailer vs others), is the fact that it offers versatility in the types and lengths of staples and cleats you can use -- 15.5 gauge Flooring Staples and 16 Gauge T and L Cleats from 1-1/2” to 2” in length. While I knew I was only going to use 2" L cleats (please don't comment on whether I should have used staples -- that debate will likely go on for as long as staples and/or cleats are used, from what I exhaustively read), I like the idea that the nailer offered more options compared to most, if not all, of the others I researched -- despite cost. Cons: I wish there was a case. When all was said and done and I had to break everything down, I wanted to store the tool properly so if I needed it in the future, it would be there and would have all the items that came with the nailer (plates, wrenches, etc.) in one place. No such luck. I ended up putting all items in a ziploc baggie for safe keeping and then wrapping it and the tool in a construction-grade garbage bag -- duct taping everything to make it tight -- and putting it on a shelf for safe storage. I case would have been a nice add for maybe another $20, which I would have been willing to pay. Another con is that the rubber grip on the long-reach handle started twisting around roughly 3/4 of the way through the job. The company should have adhered the grip to the handle in the factory (or made a better grip). Still, I was wearing gloves for most of the job. I ripped off the grip (not the handle, which was a back-saver) and kept going. One final con was the container in which the included oil was packaged. It was a really nice, add, please don't get me wrong here. My only bone to pick with it was that it was offered in a cheap squeeze bottle without a cap. Once you cut the nozzle to allow the oil to come out, there was no way easily to seal the bottle. Moreover, the bottle was bubbled out at the bottom. It didn't sit flat and had tendencies to fall over easily -- resulting in spilled oil. A simple cap would have resolved the spill issue. General Comments: I can't count the following as pros or cons, as they were simply experiences that I think most would experience with this or any other gun. I used the nailer with a Porter Cable pancake compressor (which I purchased on Amazon at the same time -- https://www.amazon.com/dp/B009NR3R6A/ref=cm_cr_ryp_prd_ttl_sol_0). I highly recommend this set (or similar sets) for reasons I'll explain. First, you will have to play around with the pressure to get the nails to hit the tongue just right. I found 80-90 psi work perfect for my needs (flooring and subfloor (3/4 plywood), so as to lessen/avoid split tongues. Any setting over this and I either got a split tongue or the L cleat sank too deep. I noticed some reviewers complained about the base plates. Ensuring the allen-head screws were set properly in the plate recesses, I had no problems with the 3/4 plate at all (i.e., it didn't mar any of th